Quick daily cleaning
After steaming or baking, allow the steamer to cool down to a warm-to-the-touch temperature. Clear away any condensation and crumbs with a soft, damp cloth and mild detergent. Then gently wipe the cavity dry.
A few simple cleaning steps suffice to keep your appliance looking pristine and performing at its best in the long term. Benefit from consistently high-quality results through regular care.

After steaming or baking, allow the steamer to cool down to a warm-to-the-touch temperature. Clear away any condensation and crumbs with a soft, damp cloth and mild detergent. Then gently wipe the cavity dry.
For a natural way to neutralise lingering smells, place an ovenproof bowl with the juice of two lemons inside the cavity. Fill the bowl halfway with boiling water and steam at 100 °C for 20 minutes. Allow it to cool, then wipe and dry the interior.
For light residue, use the "steam cleaning" function or manually steam at 80 °C for 20 minutes. Remove the shelves to clean the side walls and place them on the bottom of the cavity. Then either dry with a soft cloth or activate hot air at 100 °C for 10 minutes to finish.
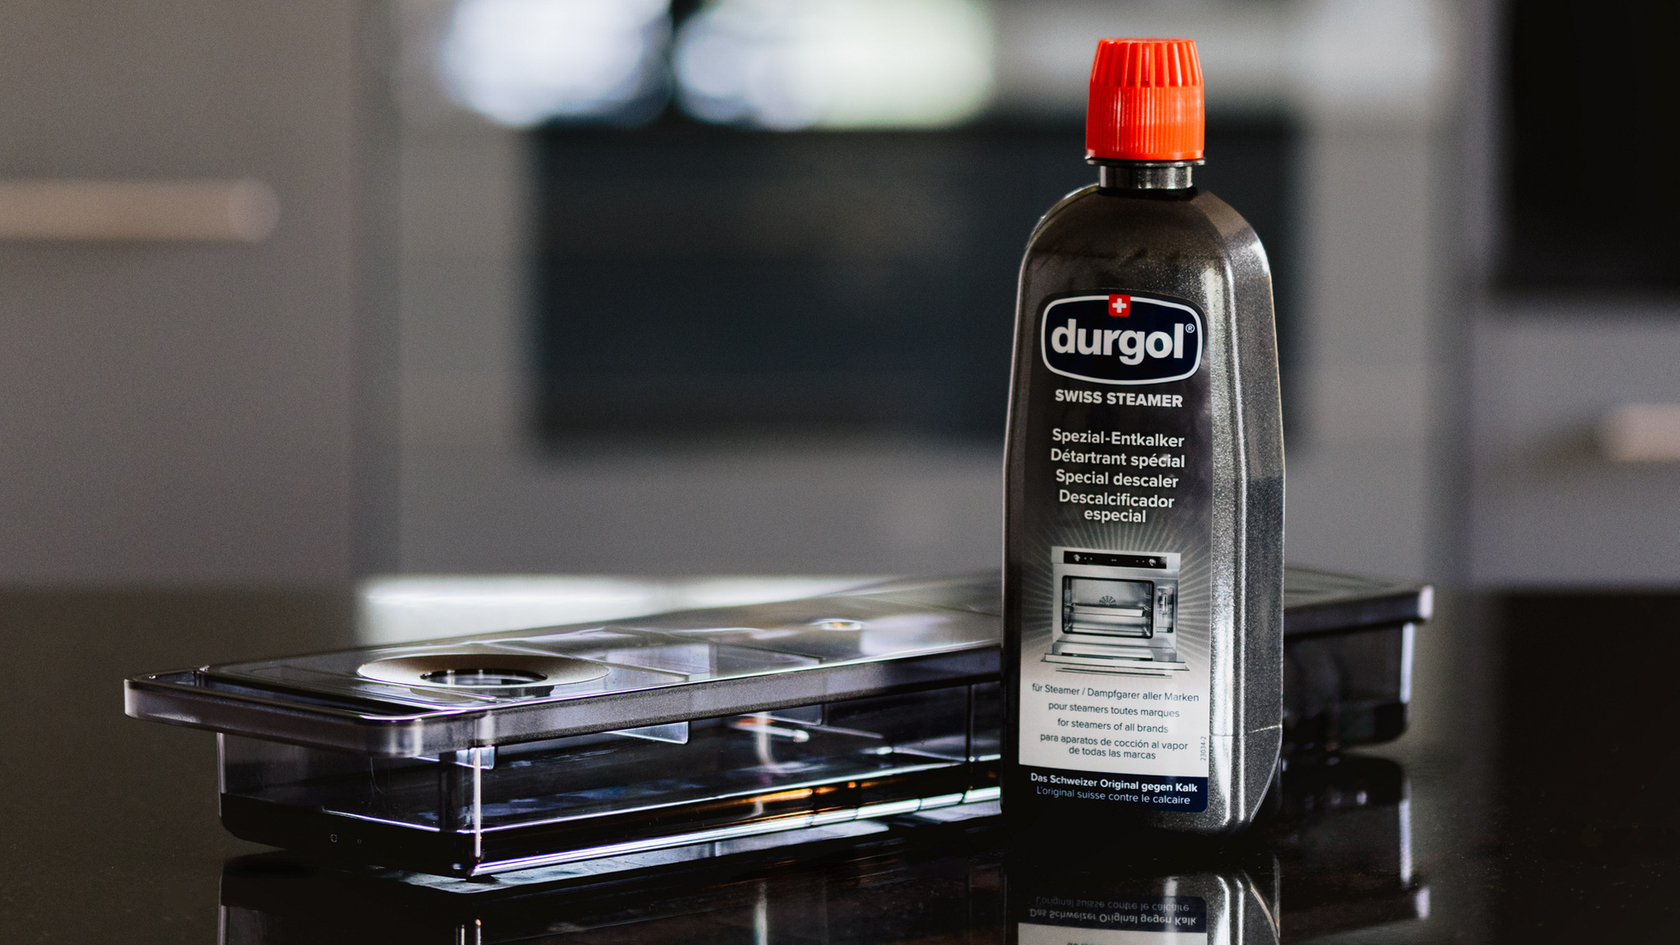
For persistent residue, apply SteamerCleaner and run the “intensive cleaning” programme once the oven has cooled. Follow the display instructions. For non-Excellence Line models, please refer to the instructions included with the SteamerCleaner.
The shelf guides can be removed for convenient, thorough cleaning.Designed to fit only one way, they can be taken out and reinserted effortlessly, without force and without the risk of incorrect placement.
Spray cleaner onto a soft cloth, then carefully pat the area around the fan. Avoid spraying cleaning agents directly into the cavity behind the fan. This careful method ensures safe and effective back-panel cleaning.
A golden hue on the stainless-steel interior is a natural result of use and does not affect performance. If preferred, SteamerCleaner can be used to reduce visible discolouration.
The oven’s shelf guides can be removed for effortless, thorough cleaning. Their design ensures they only fit one way, eliminating any risk of incorrect placement. No need to memorise the exact position.
Before removing the appliance door, place a clean towel on a stable and large enough surface nearby, such as a table or worktop. This protects both your appliance and the surrounding surfaces during handling.
To remove the appliance door, start by opening it fully. Flip the small latches on both hinges forward. Then, close the door to the venting position (about 30°). Grip the door firmly with both hands and lift it out smoothly, at an angle.